Create a Project
To create a new iZiTest project, complete the following steps:
-
Log in to iZiTest: Open your web browser and navigate to the iZiTest login page. Enter your credentials and click Login to access your iZiTest account.
-
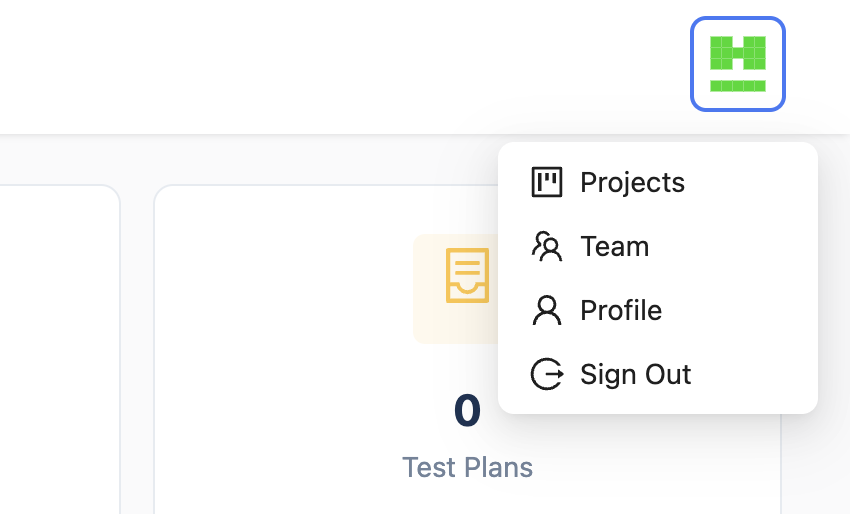
Access the Dashboard: After logging in, you will be redirected to the iZiTest dashboard. Click the Profile image in the top-right corner and select Projects from the dropdown menu.
-
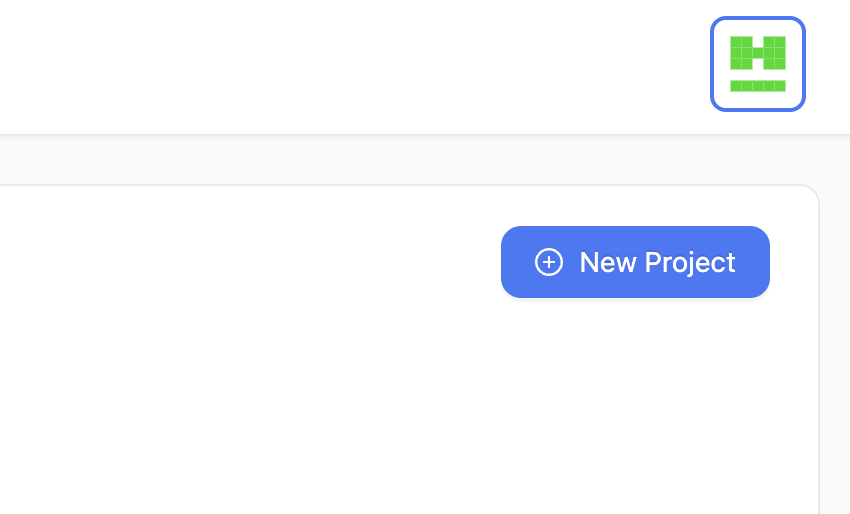
Create a New Project: On the Projects page, click the New Project button to initiate the project creation process.
-
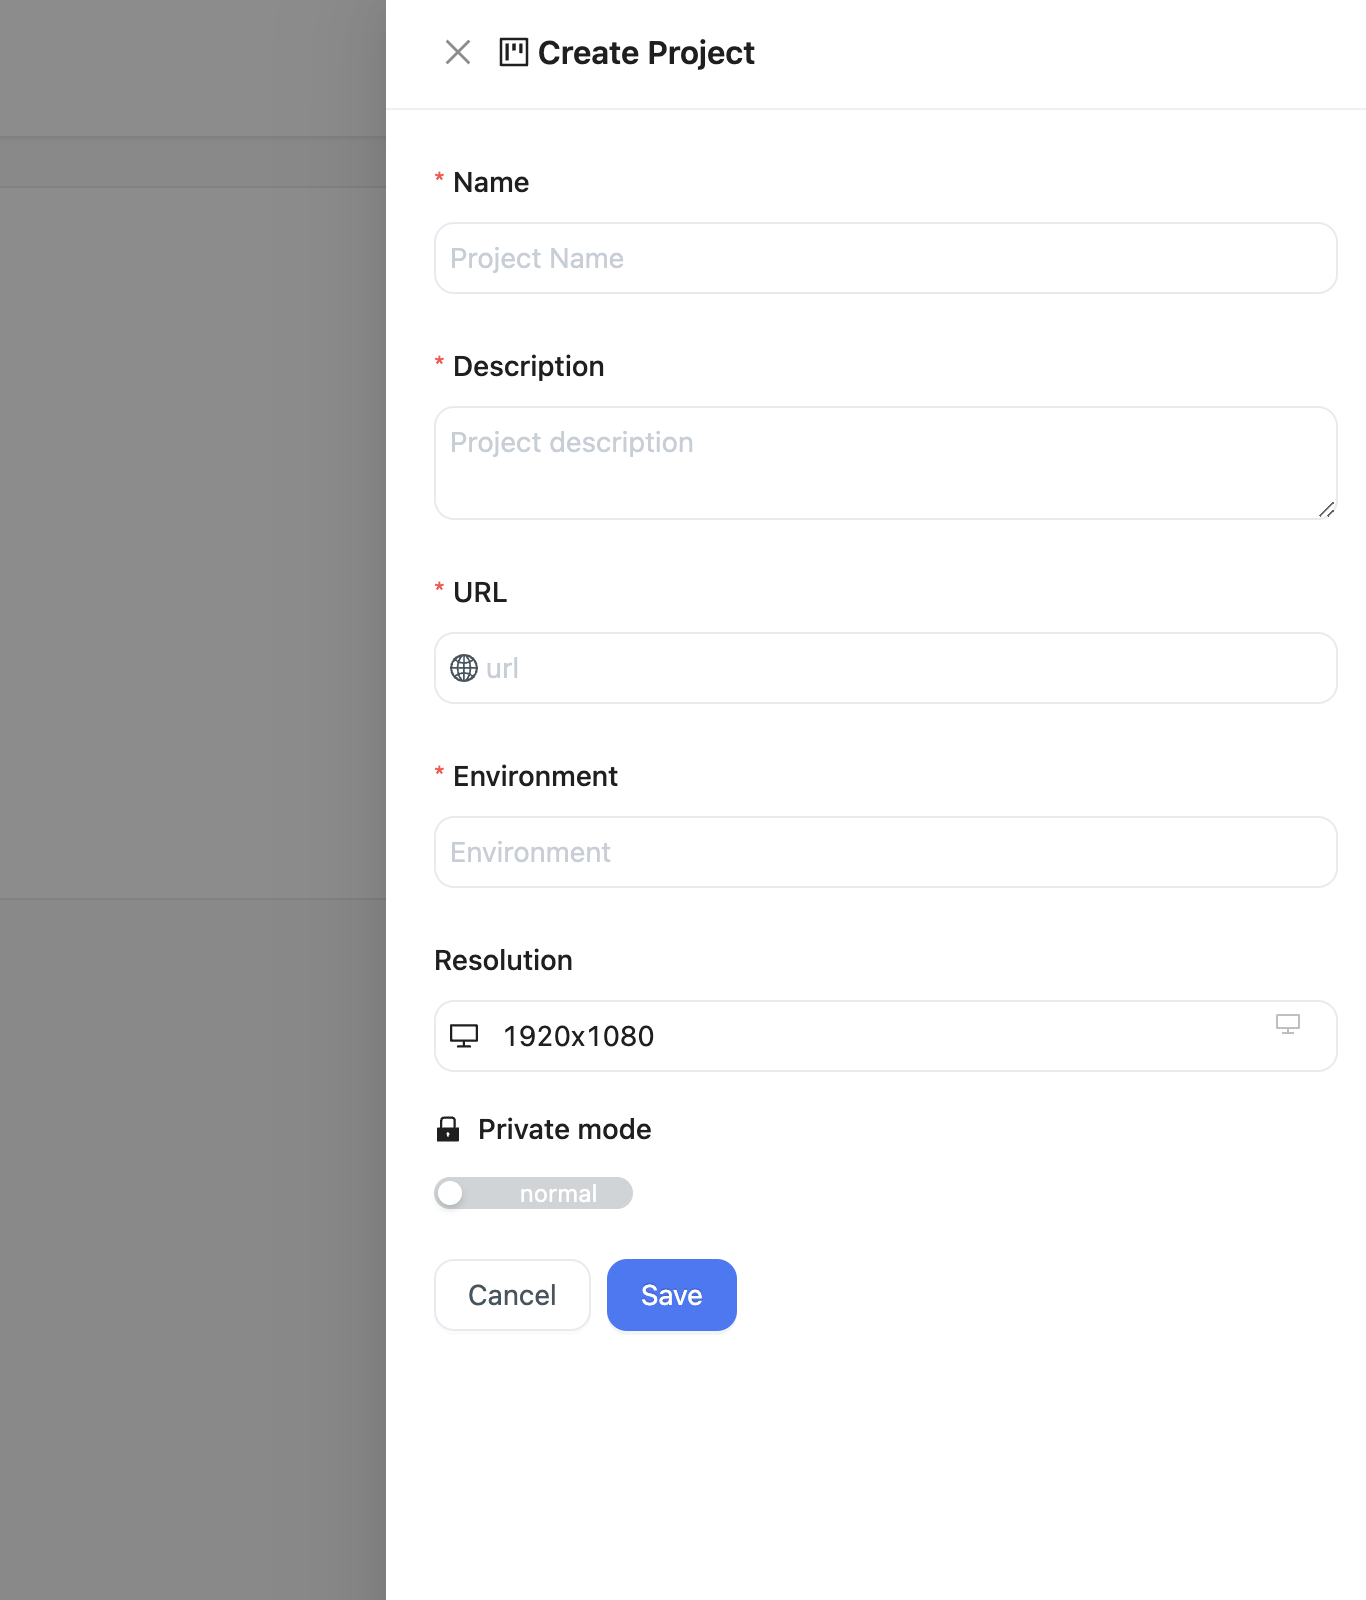
Enter Project Details: In the New Project dialog, provide the following details:
- Project Name: Enter a unique name for your project.
- Description: Add a brief description of your project.
- URL: Specify the base URL of the web application you want to test.
- Environment: Set the environment type for your project (e.g., Production, Staging, Development).
- Resolution: Define the screen resolutions for your project.
- Private mode: Enable this option to activate browser privacy mode for your project.
-
Save the Project: Click the Save button to create the project. You will be redirected to the project details page, where you can further configure your project settings.